Venison jerky

Using time-honoured techniques adopted by cultures around the world, Jake and Amie of Jake's Cured Meats are your guides to making the perfect hiking snack.

Screen Shot 2018-02-22 at 1.33.29 PM.png

You’ve been tracking your prey for hours, then finally you get the shot. You lock it in your sights, take a couple of deep breaths, squeeze the trigger: crack! The animal drops, silence. A moment of reflection, respect for the beast. You remove the entrails, leave for the birds. The inescapable symbiosis of life and death. The march back home begins; the glow of embers awaits you. Skin, butcher, roast, eat. Hunger satisfied, you deal with the remaining meat; rub it with salt and hang it in the fireplace. The smoke flows around the meat, transforming it into a perfectly preserved meaty jewel. 

Before refrigeration, food preservation was key to survival. This was often achieved by drying, which allowed a single kill to last for months, providing a powerful protein punch. From the ancient Egyptians to the Native Americans, many cultures developed their own methods for drying meat. This allowed pioneers and adventurers to push ever deeper into uncharted territory. When Captain Scott set off for the South Pole he took with him pemmican – a mixture of dried meat, fat and berries. 

Curing meat is still something of a black art. The complex flavour changes that take place during the curing process is still not fully understood. Good hygiene is essential and always buy the best quality meat you can. This recipe is for venison jerky but you can use any kind of lean meat; beef, lamb or turkey, for example.

Ingredients

500g venison haunch
4 tbsp soy sauce
4 tbsp Worcester sauce
2 tbsp honey
4 tsp smoked paprika
2 tsp chilli flakes
2 tsp sea salt
1/2 orange zest and juice

Method

1. Pop the venison in the freezer for 45 mins to 1 hour. You don’t want to freeze it, just to firm it up slightly.

2. With a sharp knife slice the venison into thin strips.

3. Whisk together the remaining ingredients in a bowl, then add the venison strips. Cover and leave overnight to marinade in the fridge.

4. Once the meat has finished marinating, preheat the oven to 80C.

5. Lay the meat on a baking rack or something that will allow the air to circulate around the meat.

6. Bake for 3-4 hours or until the meat becomes dry and chewy, then remove from the oven and allow to cool.

7. Pack into an airtight container and store in a dry, cool place ready for your next adventure.

Words by Jake and Amie, who make cured meat snacks in the Brecon Beacons; jakescuredmeats.co.uk. 

Metheglin: the king's brew

Courtier, privateer, diplomat, swordsman, theologian, alchemist and incurable romantic, Sir Kenelm Digby was the sort of character you simply couldn’t make up. Oddly enough though, these days Digby is most revered among home brewers... 

Image by Jesse Wild

Image by Jesse Wild

Sir Kenelm Digby  (1603-1665) was a noted foodie, and he kept extensive notebooks of recipes encountered both in London and on his travels. These were published after his death by an enterprising steward under the title The Closet of Sir Kenelm Digby Knight Opened (1669).

Among dishes with fantastic names like “a good quaking bag pudding” or “pease of the seedy buds of tulips”, there are no less than 115 different booze recipes, mainly for metheglin – or flavoured mead.  Kenelm got this brew from “Master Webbe, who maketh the King’s Meathe”. I’ve scaled it down considerably (Webbe’s recipe makes 300 bottles, but eight is probably enough to start with), and switched most of the fresh ingredients for dry ones. It’s strong and sweet, with a rather medicinal flavour.

1. Bring 10 litres of water to the boil. Add 5g of dried hops (I used East Kent Goldings) and boil for half an hour. Putting your ingredients in muslin bags will save you straining them off later.

2. Remove the hops, and stir in 1.6kg of honey. Boil for an hour, skimming occasionally.

3. Add 5g dried rose petals; 2 teaspoons each of dried rosemary, thyme and marjoram; 1 teaspoon of mint; 5g fresh ginger ; a stick of cinnamon and 4 tablespoons of oloroso (sweet) sherry. Webbe liked it with cloves and mace too, but “the King did not care for them”.

4. Boil for half an hour, then strain off the liquid into a sterilised fermenter and let it cool. If you want to check the specific gravity with a hydrometer (or an egg), it should be around 1075.

5. Whisk vigorously, then pitch half a teaspoon of yeast nutrient and 2 teaspoons of wine yeast. By the next day it should be fizzing nicely.

6. Leave it to ferment out and clear (mine took a few weeks), then siphon it off into sterilised wine bottles (corks rather than screw tops). Kenelm reckoned it would be ready to drink in a month or two, but it will keep much longer. 

Joly-Braime-profile-pic.jpg

Joly Braime is a writer and home brewer. He spends his leisure time tramping the moors or filling his coal shed with homemade alcohol.
 

jolybraime.co.uk


To learn more about Sir Kenelm Digby, pick up a copy of issue 7, on sale now.

Issue 7
Sale Price:£6.50 Original Price:£10.00
Quantity:
Add To Cart

Gone for a Burton

When a Second World War airman failed to return from a mission, his RAF comrades would declare grimly that he had gone for a Burton. The 'Burton' in this case was Burton ale - once as common as IPA is today. With this adapted recipe by Joly Braime, you can create this vanished ale at home...

Illustration by Louise Logsdon

Illustration by Louise Logsdon

In The Home Brewer’s Guide to Vintage Beer (2014), Ron Pattinson observes that: “Burton, as consumed in London, is a puzzle – for the way it so quickly disappeared physically from the bar and virtually from people’s memories. In 1950 it was on draft in every pub in London.Twenty years later, few could even remember what it was.”

Though occasionally confused with IPA – that other famous Burton-on-Trent brew – Burton ale was a different beast. Broadly, it was strong, sweetish and quite heavily hopped and was distinctive for the fact that it was meant to be stored and matured. 

There are still a few Burtons left, living quietly under assumed names. If you want to try a 20th-century Burton ale, one is still produced seasonally under the Young’s brand, only they changed the name to Winter Warmer in 1971. According to Protz, Fuller’s well known ESB developed from its former Burton, while Cornell reckons Theakston’s Old Peculier “has all the hallmarks of a Burton”. And the original, supercharged stuff is very occasionally available as Bass No 1 Barley Wine. 

Or, you can have a go at brewing your own. This simple recipe is adapted from an 1850 Whitbread and an 1877 Truman, and inspired by The Home Brewer’s Guide to Vintage Beer. It comes out full of flavour and body, and makes for surprisingly easy drinking, although at 7.5% it hits pretty hard. 

1. Heat 26 litres of water to 76°C, then stir in 8.5kg of pale malt (Maris Otter).

2. Mash (steep) the grain for an hour and a half. Keep the temperature as close to 66°C as you can, either by insulating or very gentle warming.

3. Collect the wort (liquid). Sparge (rinse) the malt with another 10 litres of water, heated to 76°C. Do this slowly to extract the maximum amount of sugar.

4. Bring the wort to the boil, then add 150g of East Kent Goldings, 1 teaspoon of carragheen (to help it clear) and 2 teaspoons of Burton salts (to replicate the mineral-rich water of Burton-on-Trent). Boil for an hour and a half, adding 150g more Goldings after an hour. There will be a lot of steam.

5. Cool the wort as quickly as you can, bringing it down to about 22°C.

6. If you have a hydrometer, check the specific gravity (SG). It should be around 1081. You can adjust it up by adding sugar, or down with water.

7. Put the wort in a fermenter or large bucket then whisk vigorously for a few minutes to aerate it. Add a high-tolerance yeast (I used Mangrove Jack’s M15 Empire Ale). Whisk again, then fit a lid and an airlock (or drape a clean tea towel over the top).

8. Make a bonus batch of ‘small beer’ by repeating steps 3-7. Because the Burton ale uses so much grain, there will still be plenty of sugar left in the malt. Sparge slowly, keeping an eye on the SG of the wort to make sure it doesn’t drop below 1035. I got about 20 litres, which I brewed with 75g of Fuggles hops to make a gentle 3.5% pale ale.

9. Leave to ferment for about five days – or until the gravity is down to around 1024 – then rack (siphon the beer carefully off the sludge) into a clean vessel.

10. Bottle after a few more days, adding half a teaspoon of sugar to each 500ml bottle (you should get about 35 bottles). Set aside for at least six weeks if you can bear it, and no less than two if you can’t. 

3-Joly-Braime-profile-pic.jpg

Joly Braime is a writer and a home brewer. His workload is fairly eclectic, from outdoor magazines and a book on Sherlock Holmes to erotic fiction. He spends his leisure time tramping the moors or filling his coal shed with homemade alcohol.

jolybraime.co.uk


This recipe features in issue six of Ernest Journal, on sale now. 

Issue 6
Sale Price:£6.50 Original Price:£10.00
Quantity:
Add To Cart

Dutch oven pizza

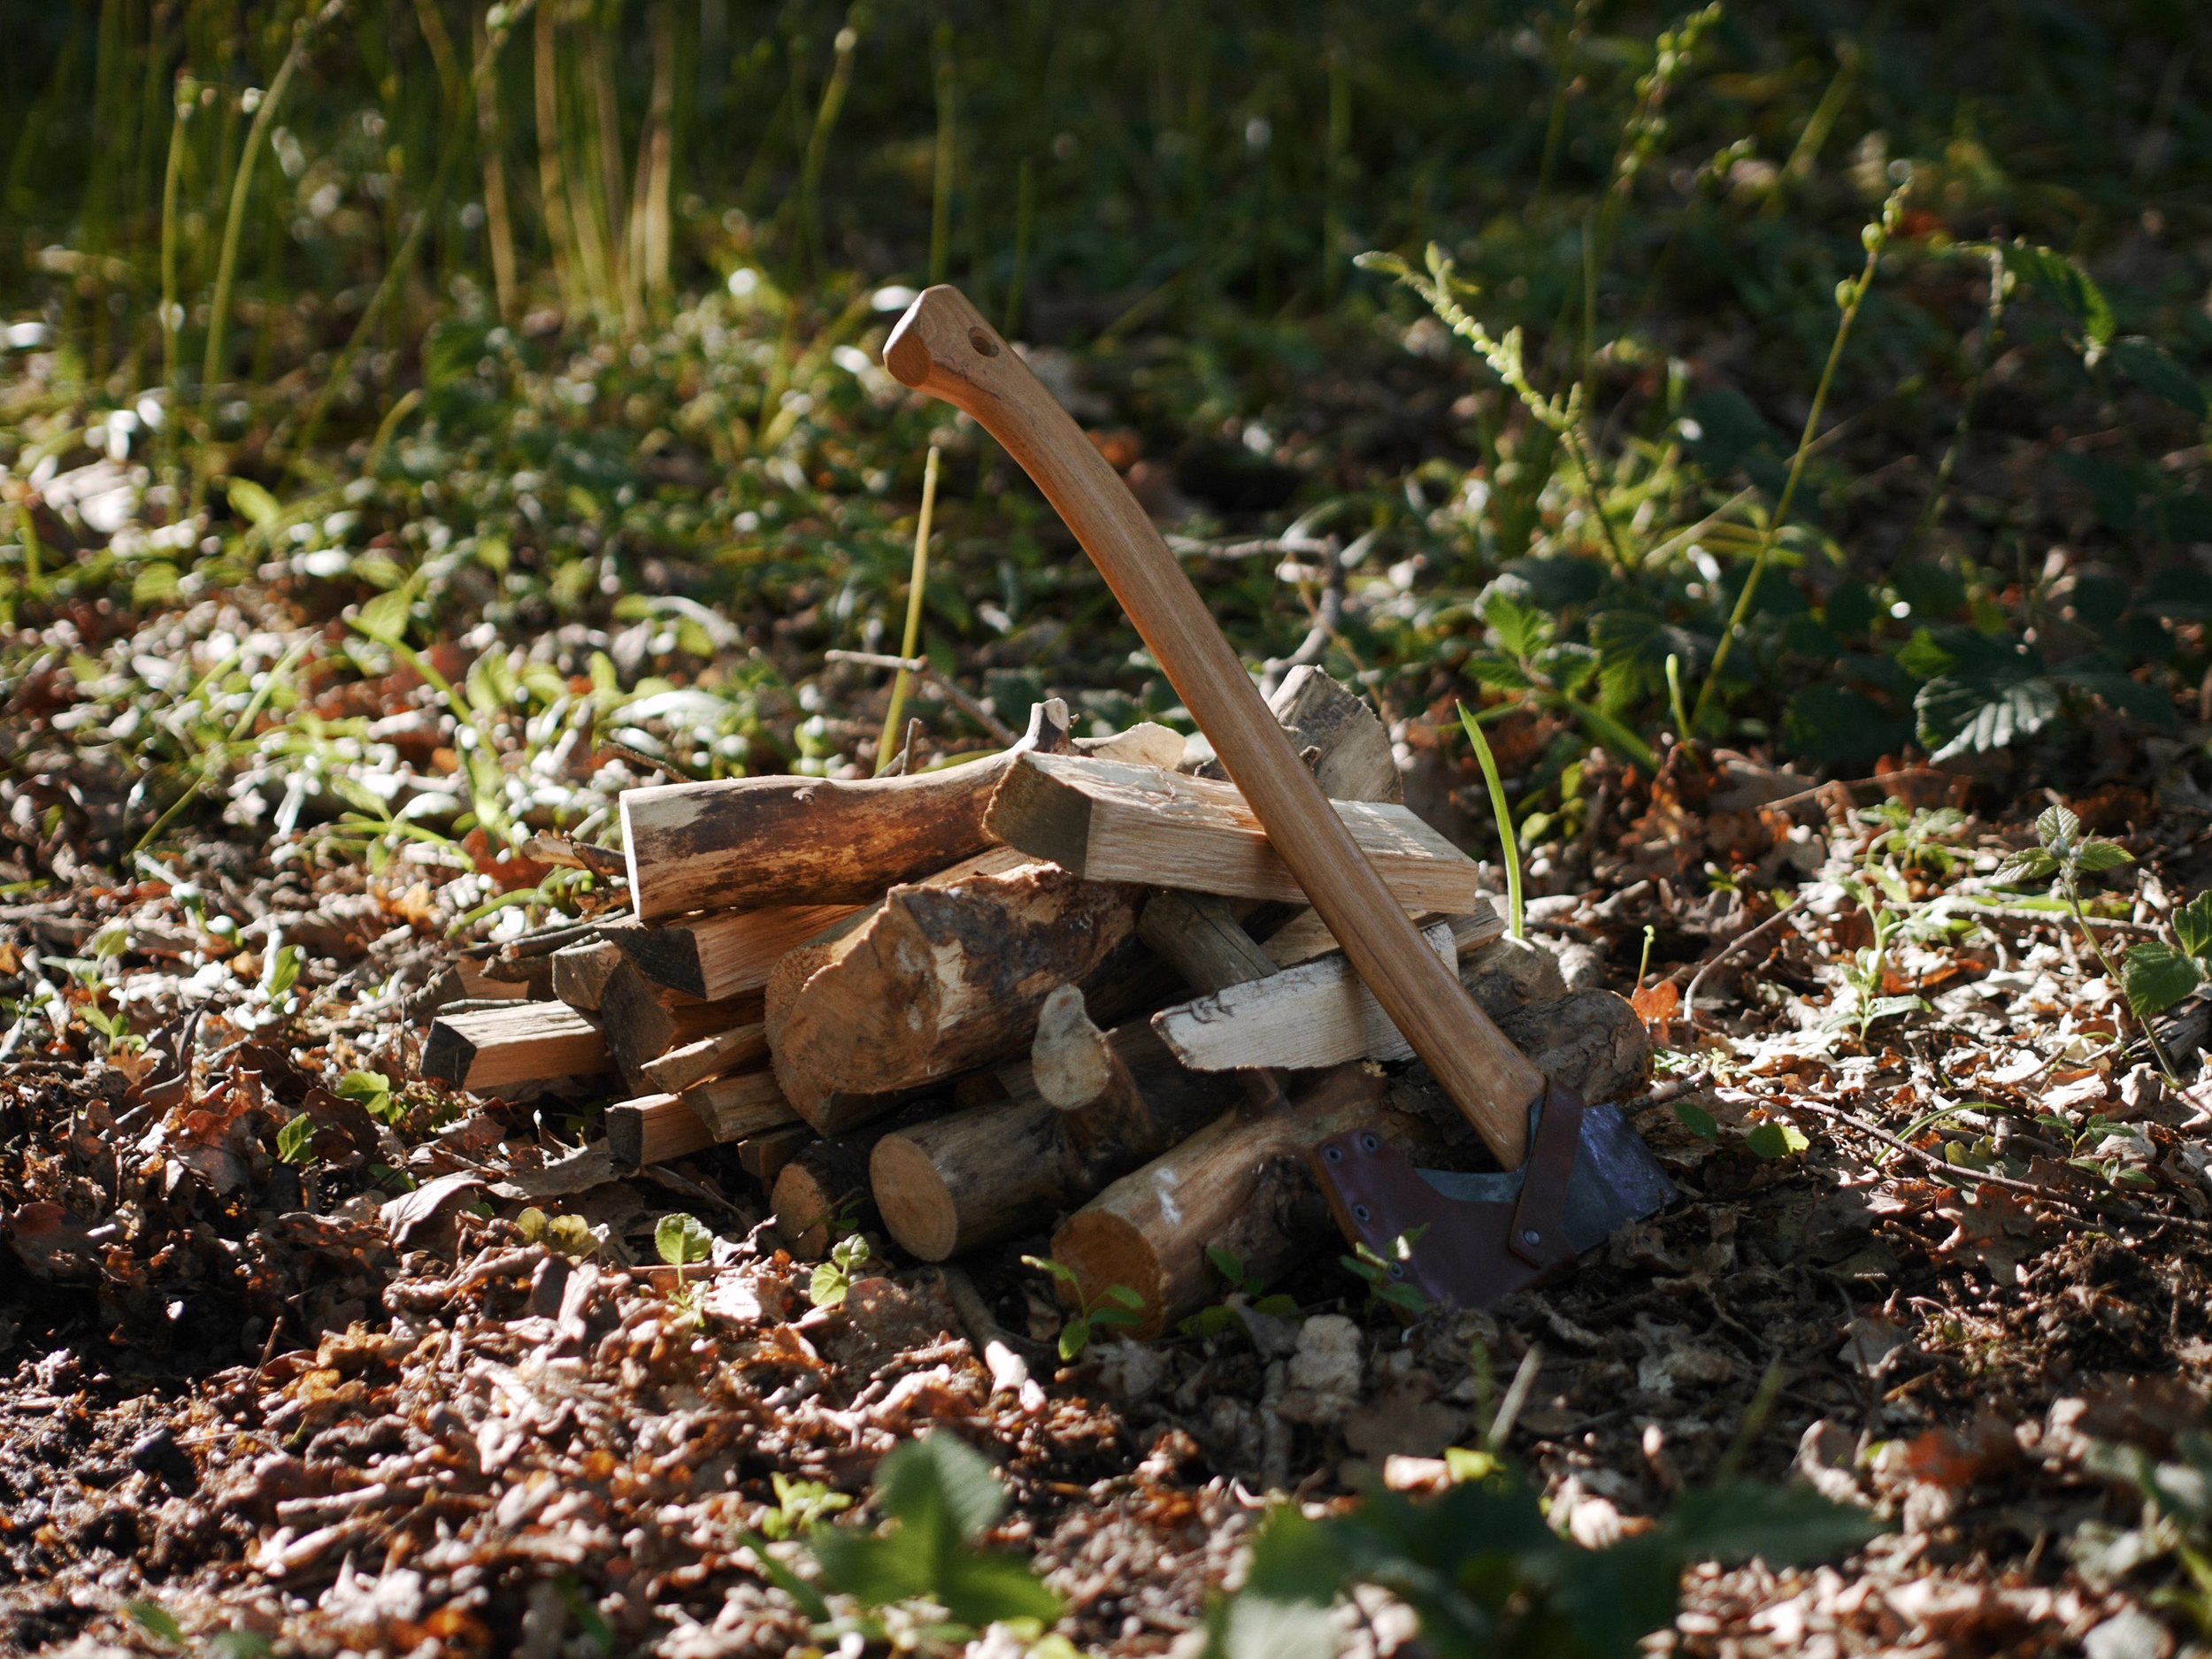
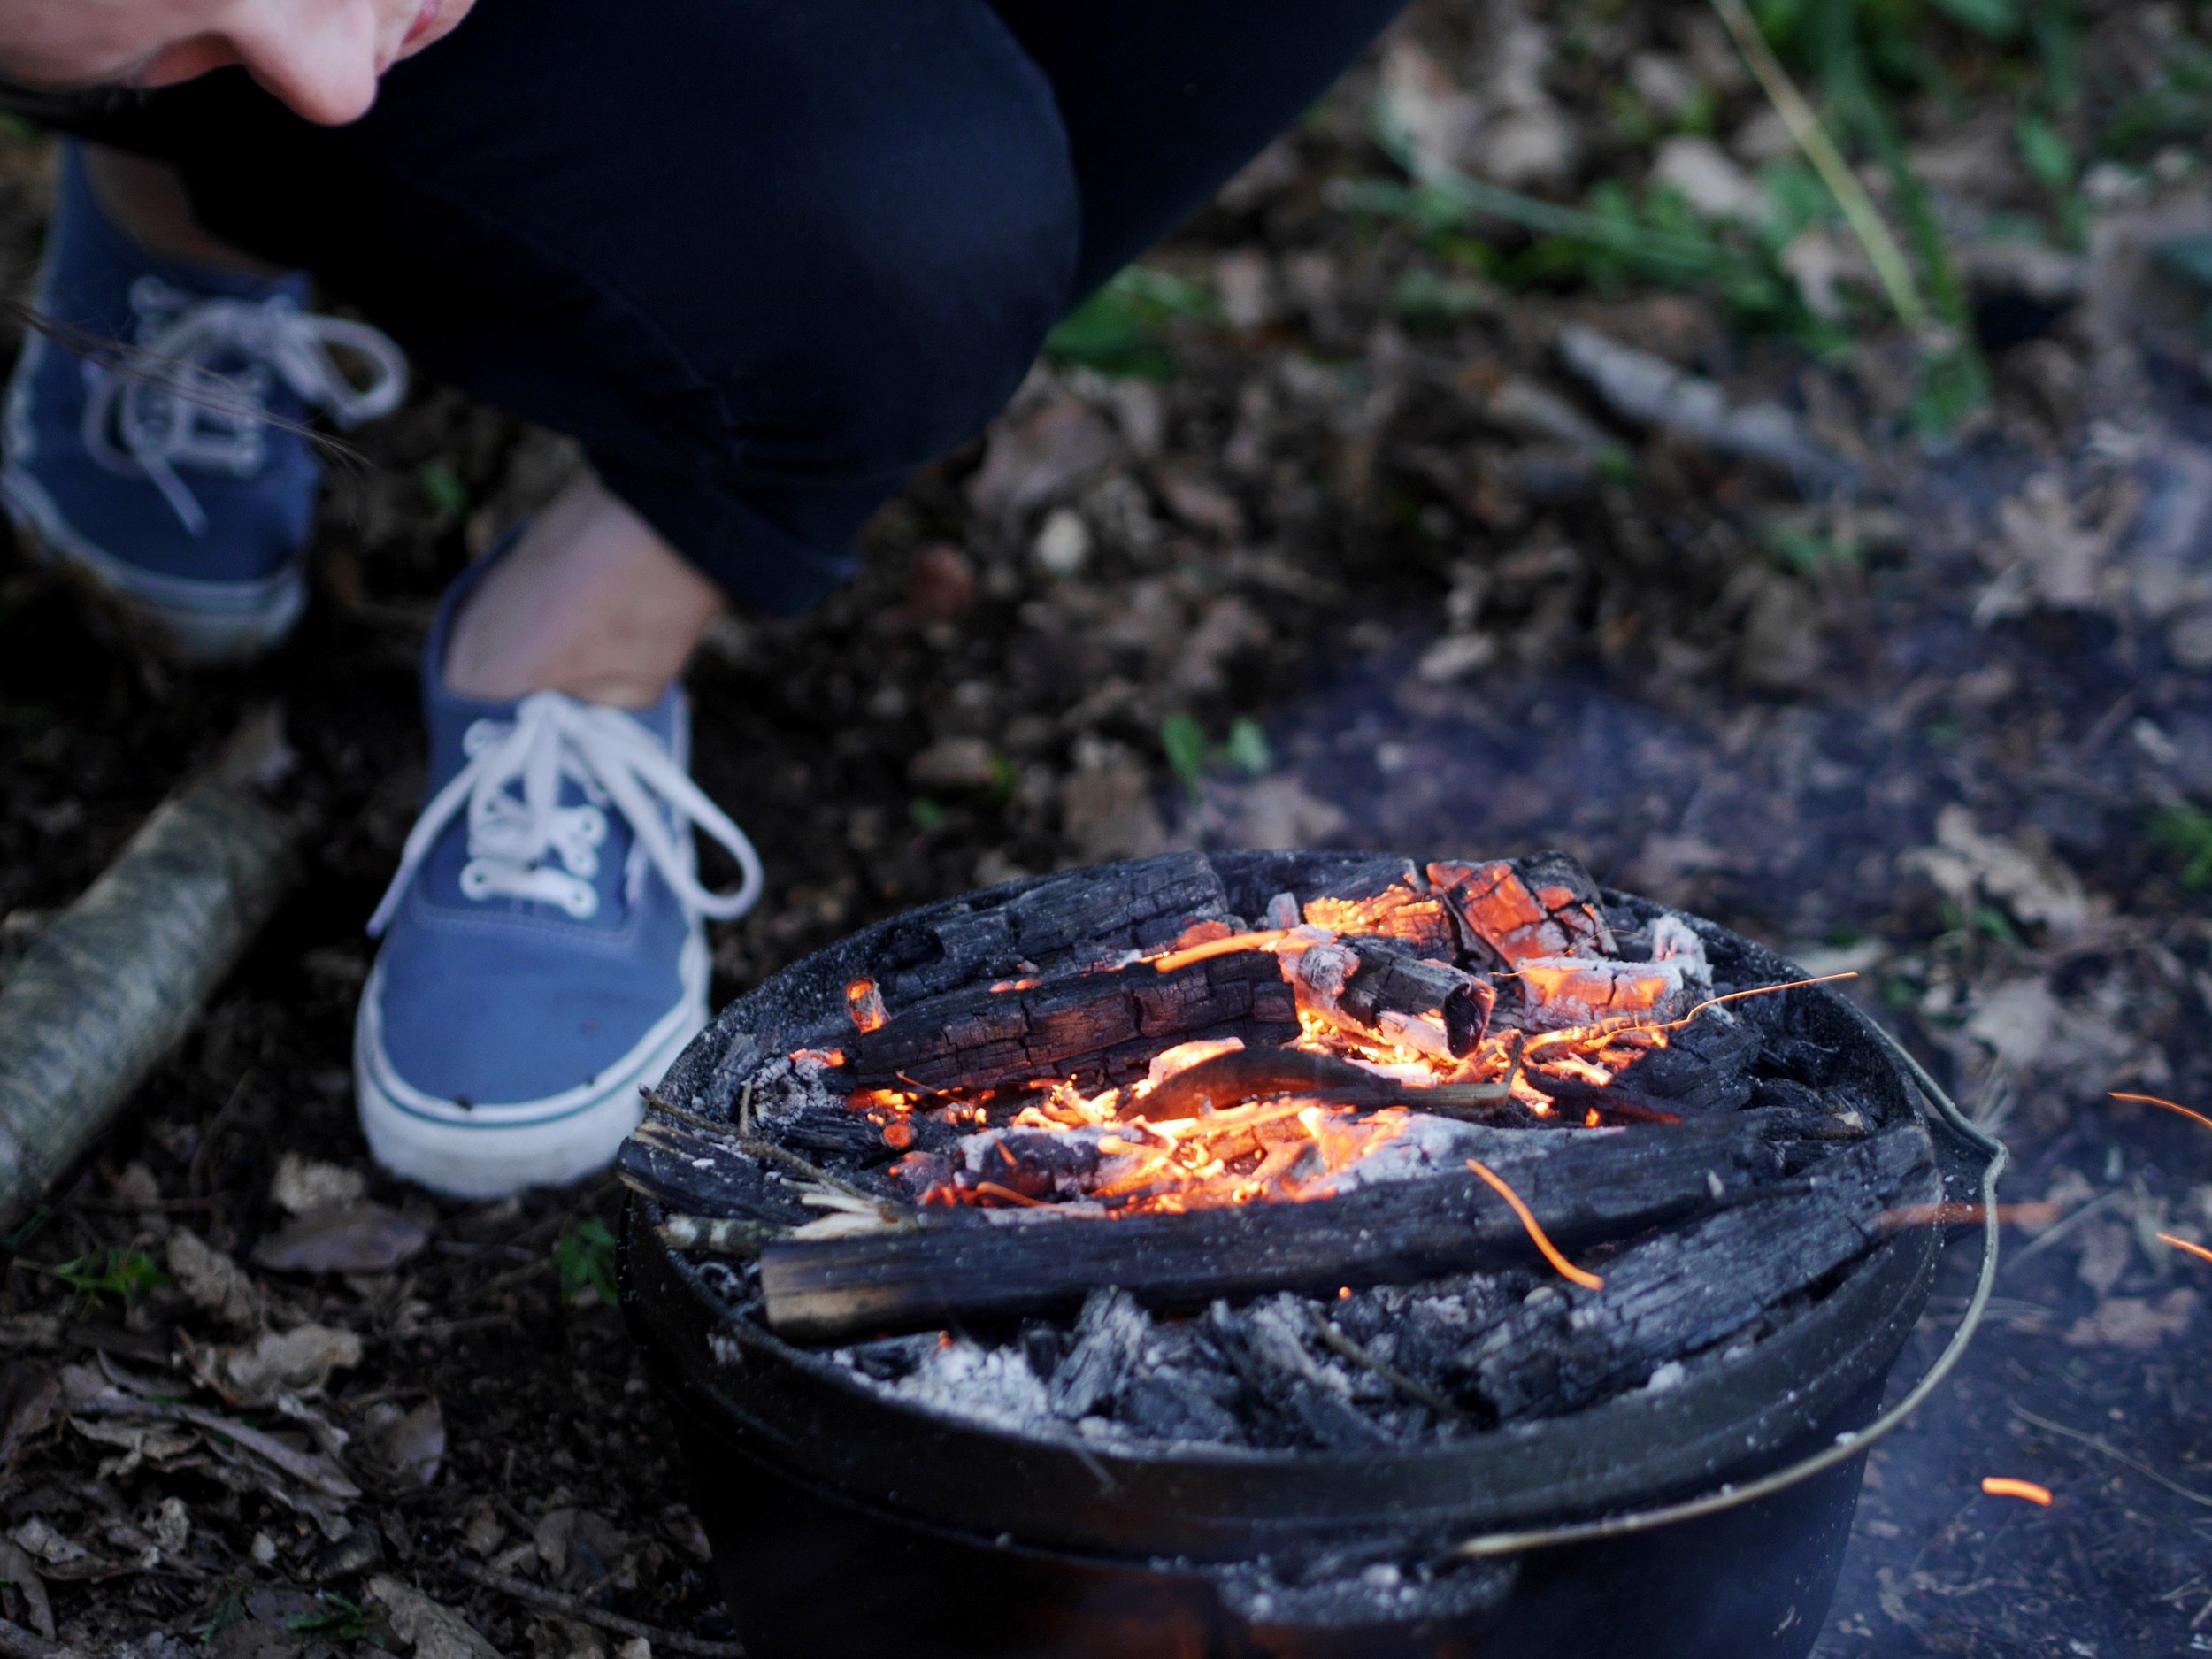
Heating beans in a can while camping with chums can only go so far. Get yourself a Dutch oven, a heavy duty cast-iron cooking pot that steps campfire cooking up a few notches

Photo: Miscellaneous Adventures

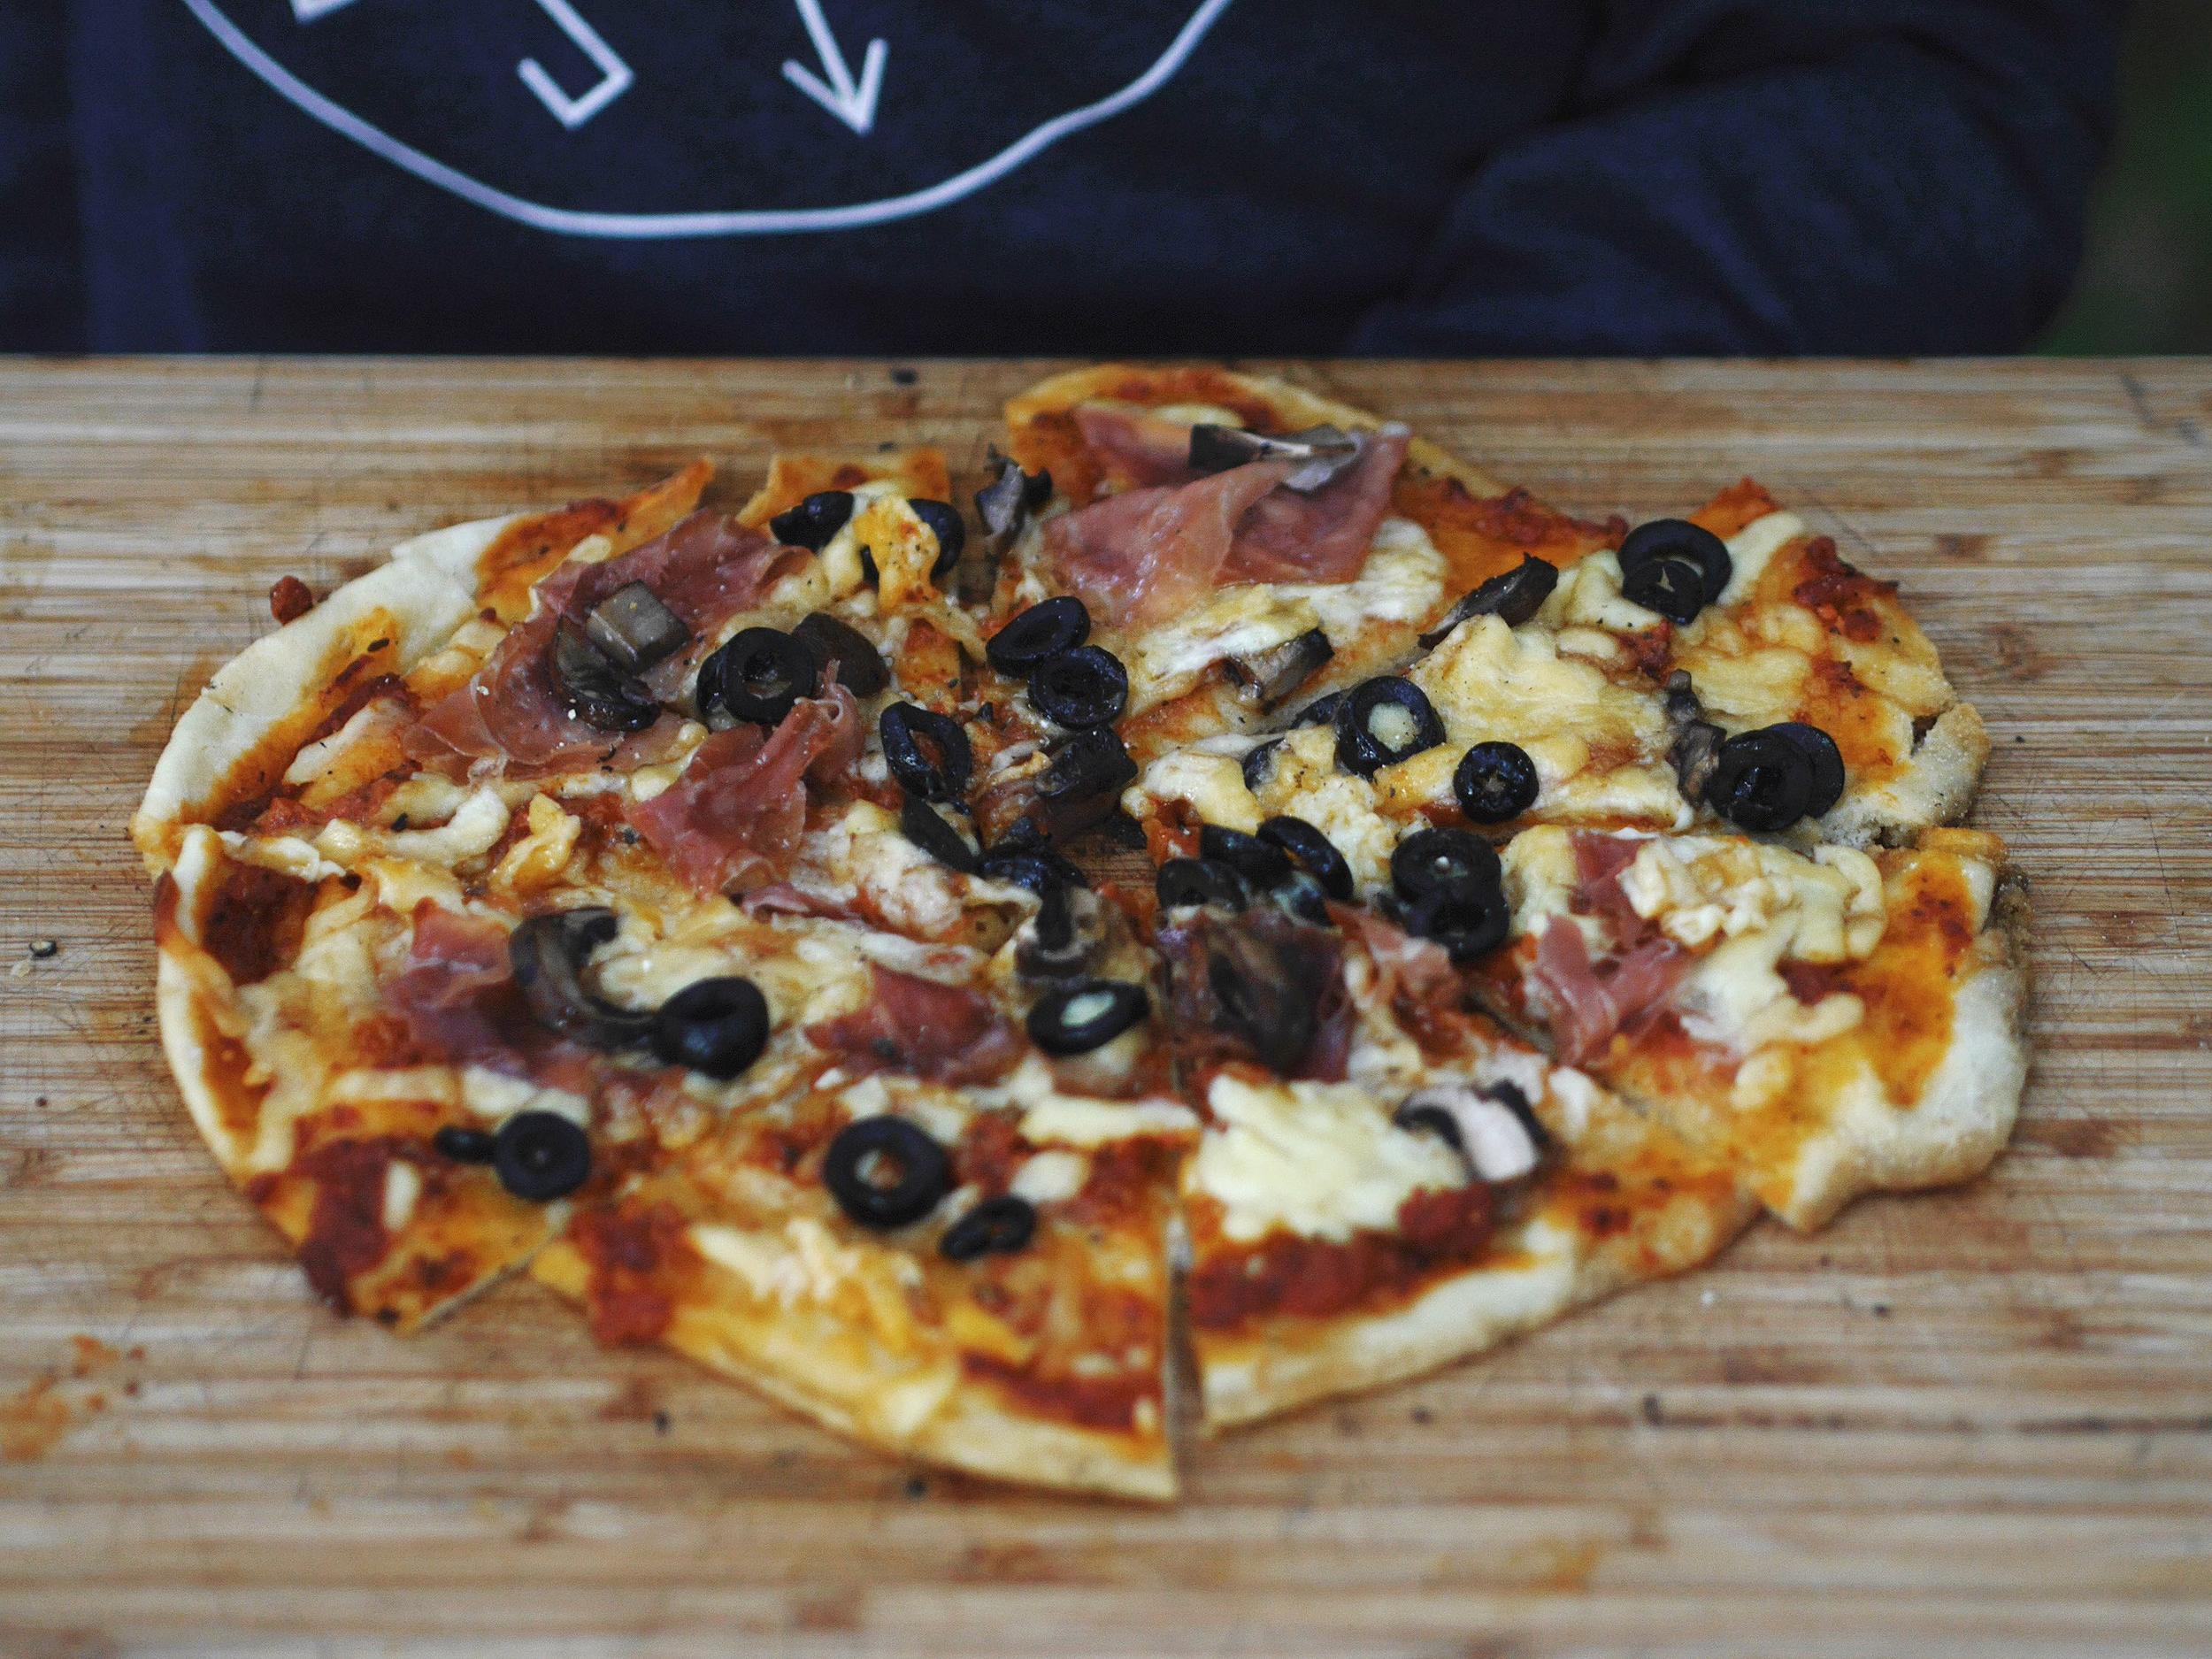
Photo: Miscellaneous Adventures

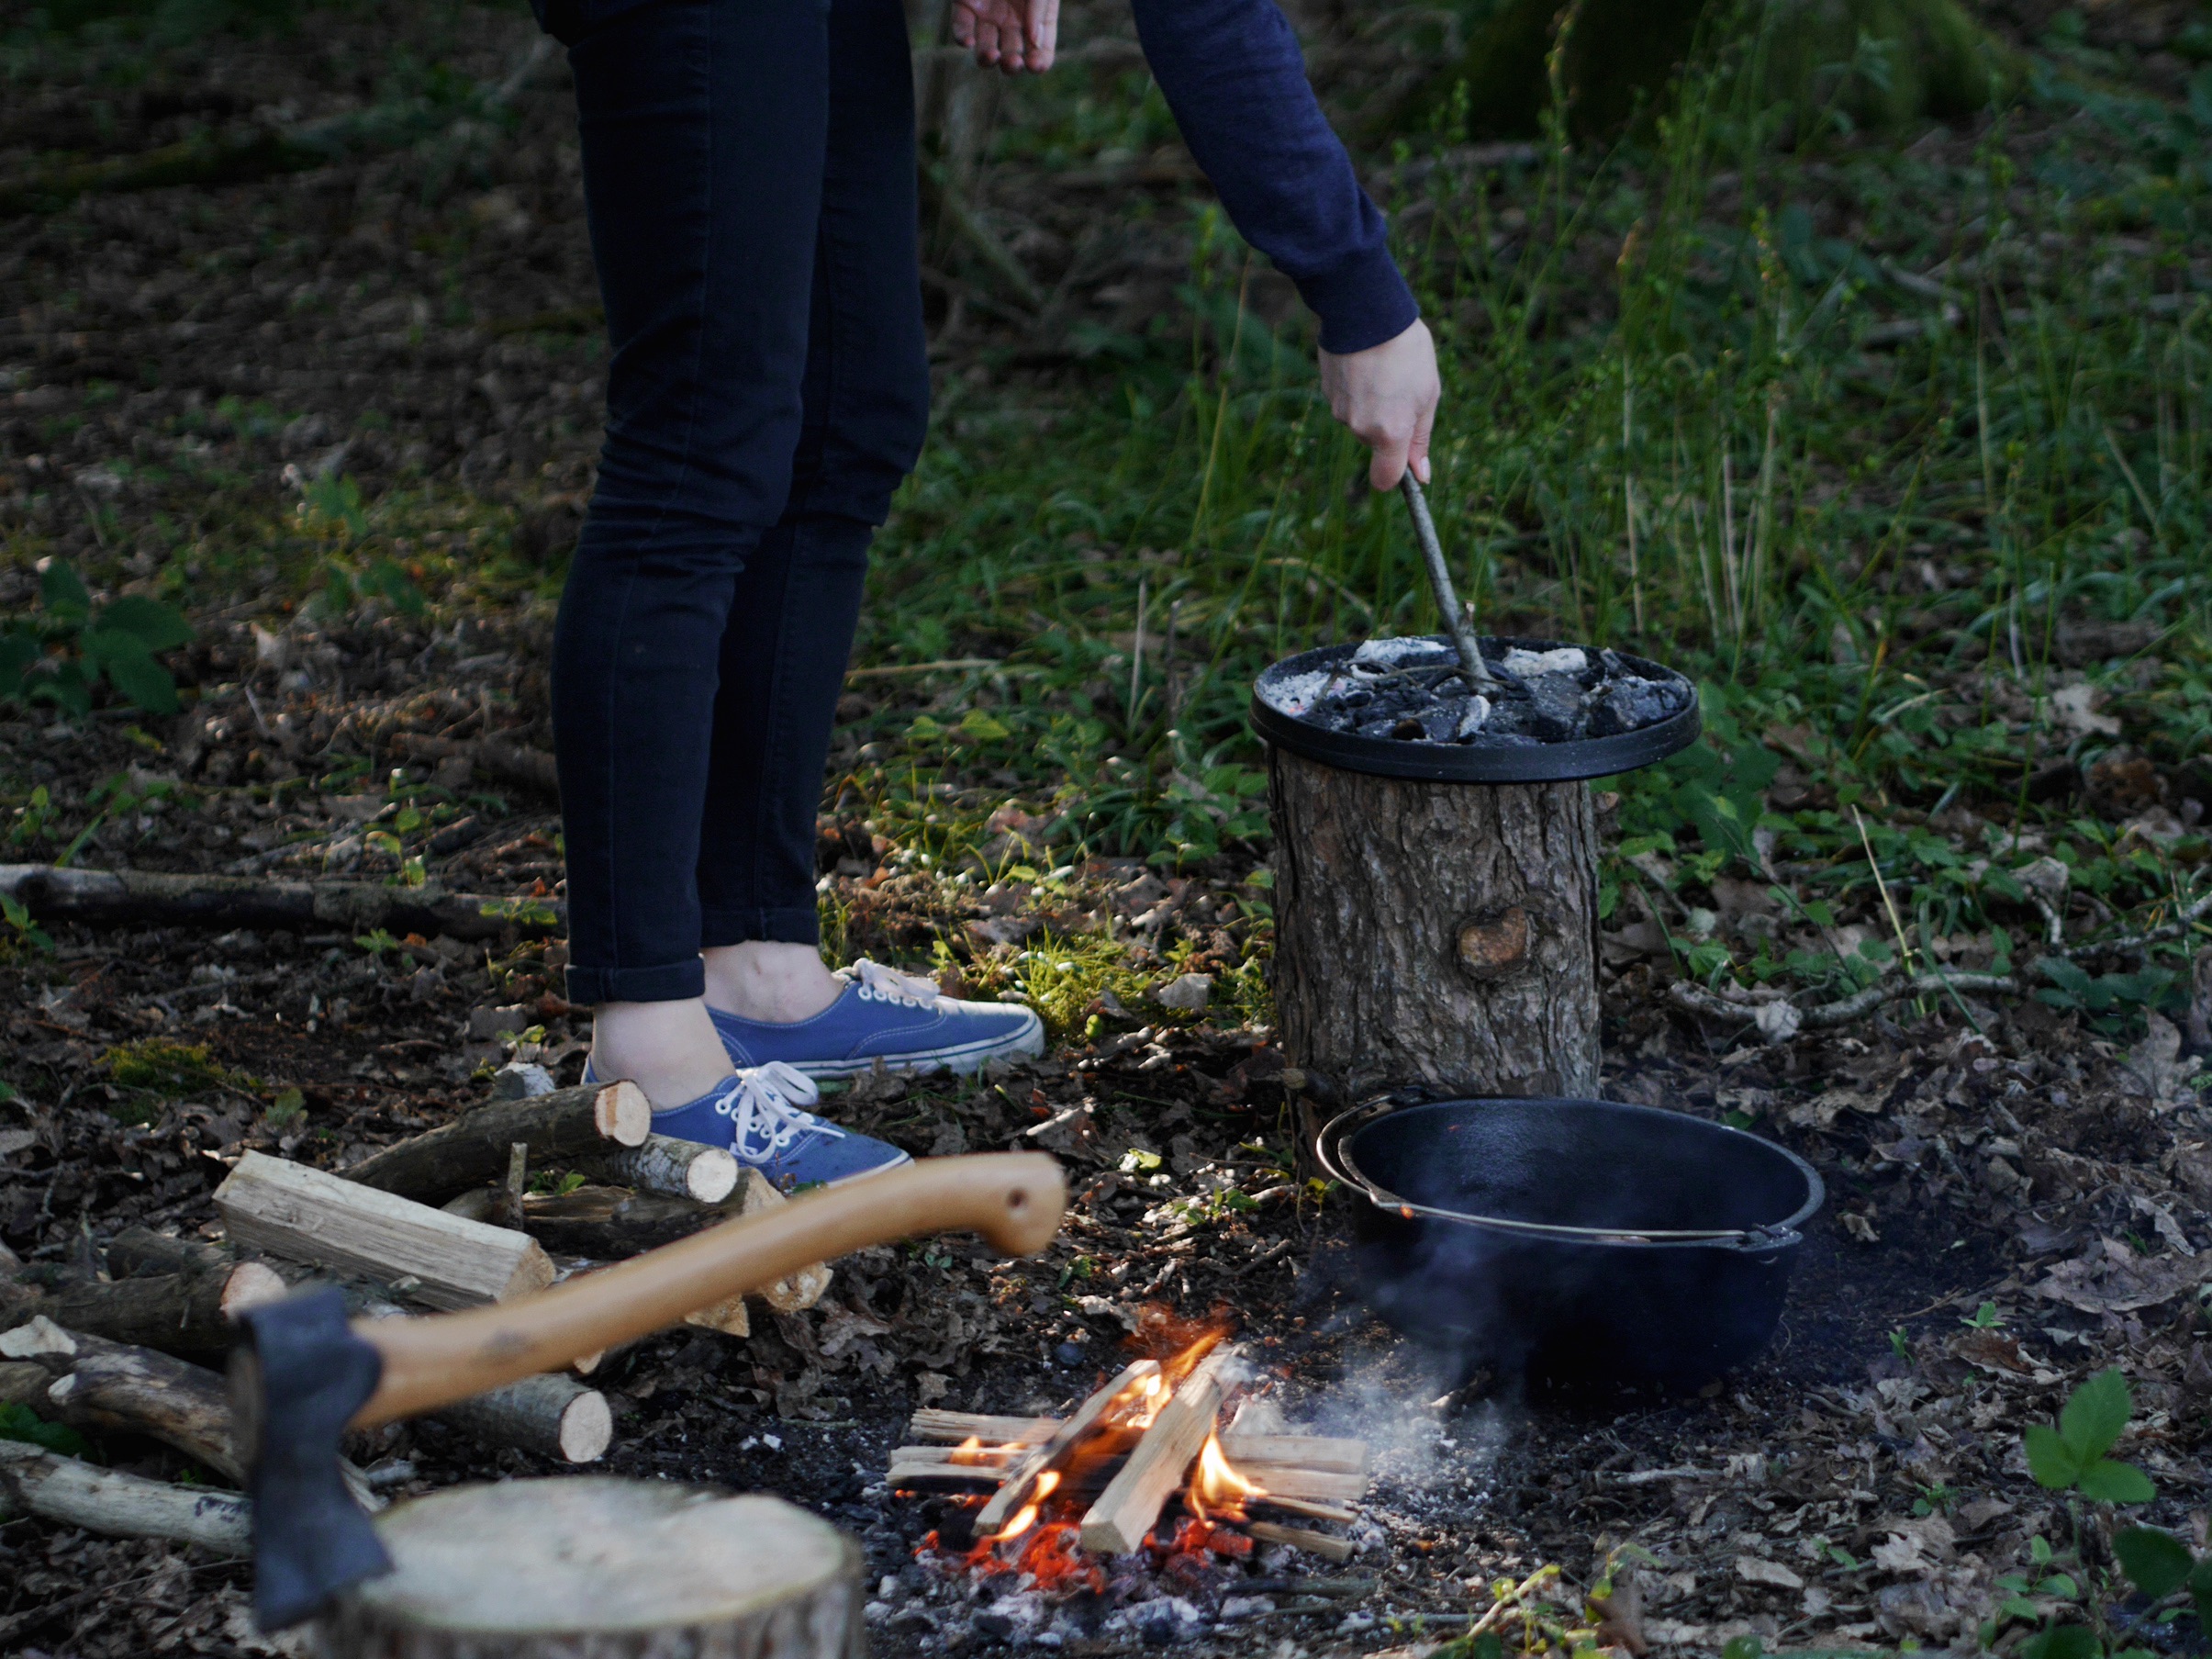
The genius of the Dutch oven's design is the rimmed lid, which can hold hot coals and embers, allowing your food to be cooked evenly. With practise, anything you cook in a regular oven can be cooked in one of these. To maintain your pan for years of outdoor cooking, clean it with boiling water after use and wipe lightly with vegetable oil to keep it seasoned and to prevent rust. 

Try this easy recipe, provided by Miscellaneous Adventures, for quite possibly the best pizza you’ll ever eat. 

Ingredients

Pizza dough (made from 350g/12oz plain flour, 2 tbsps olive oil and 150-200ml tepid water)
Passata (tomato sauce)
Mozzarella
Toppings – we used salami, jalapenos, prosciutto ham and olives
Olive oil 

Method

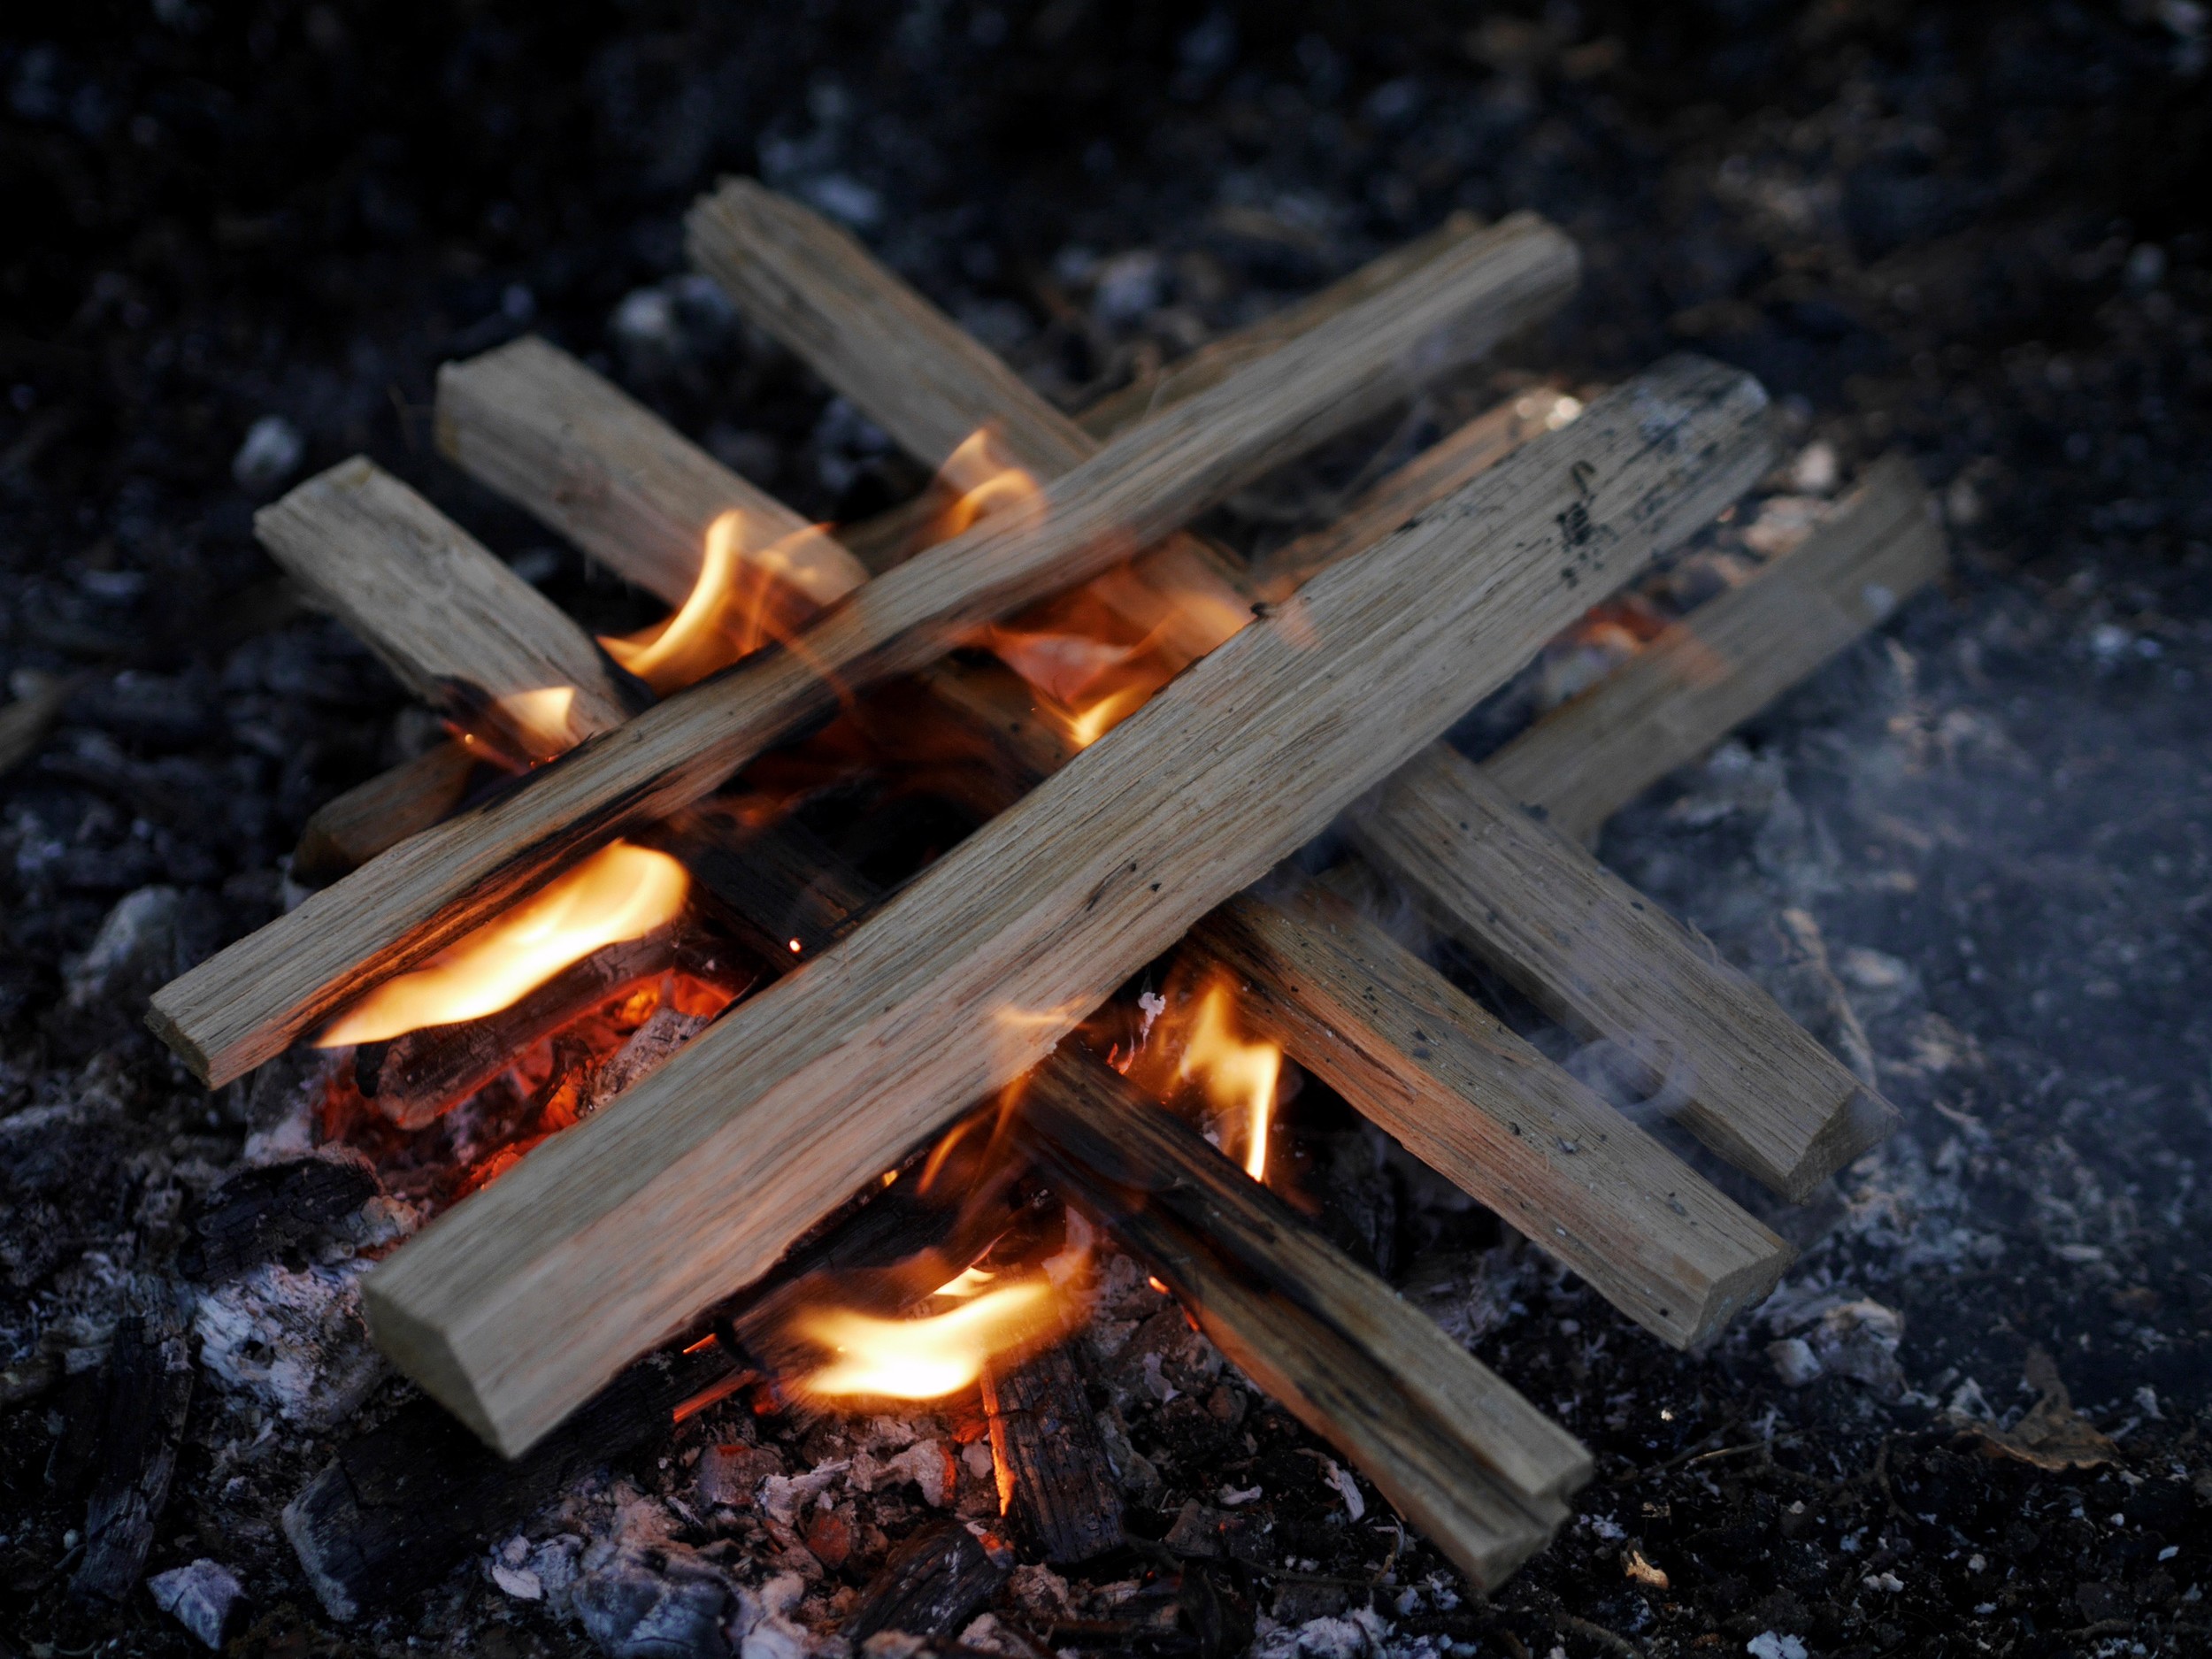
1. Get a good campfire going. Rub oil all over the inside of the pot and lid – this will ensure the dough doesn’t stick to the oven. 

2. Pre-heat your seasoned oven on the fire. Once hot, take it off the heat and move some of the embers from the fire to one side. Now it’s time to prep your pizza.

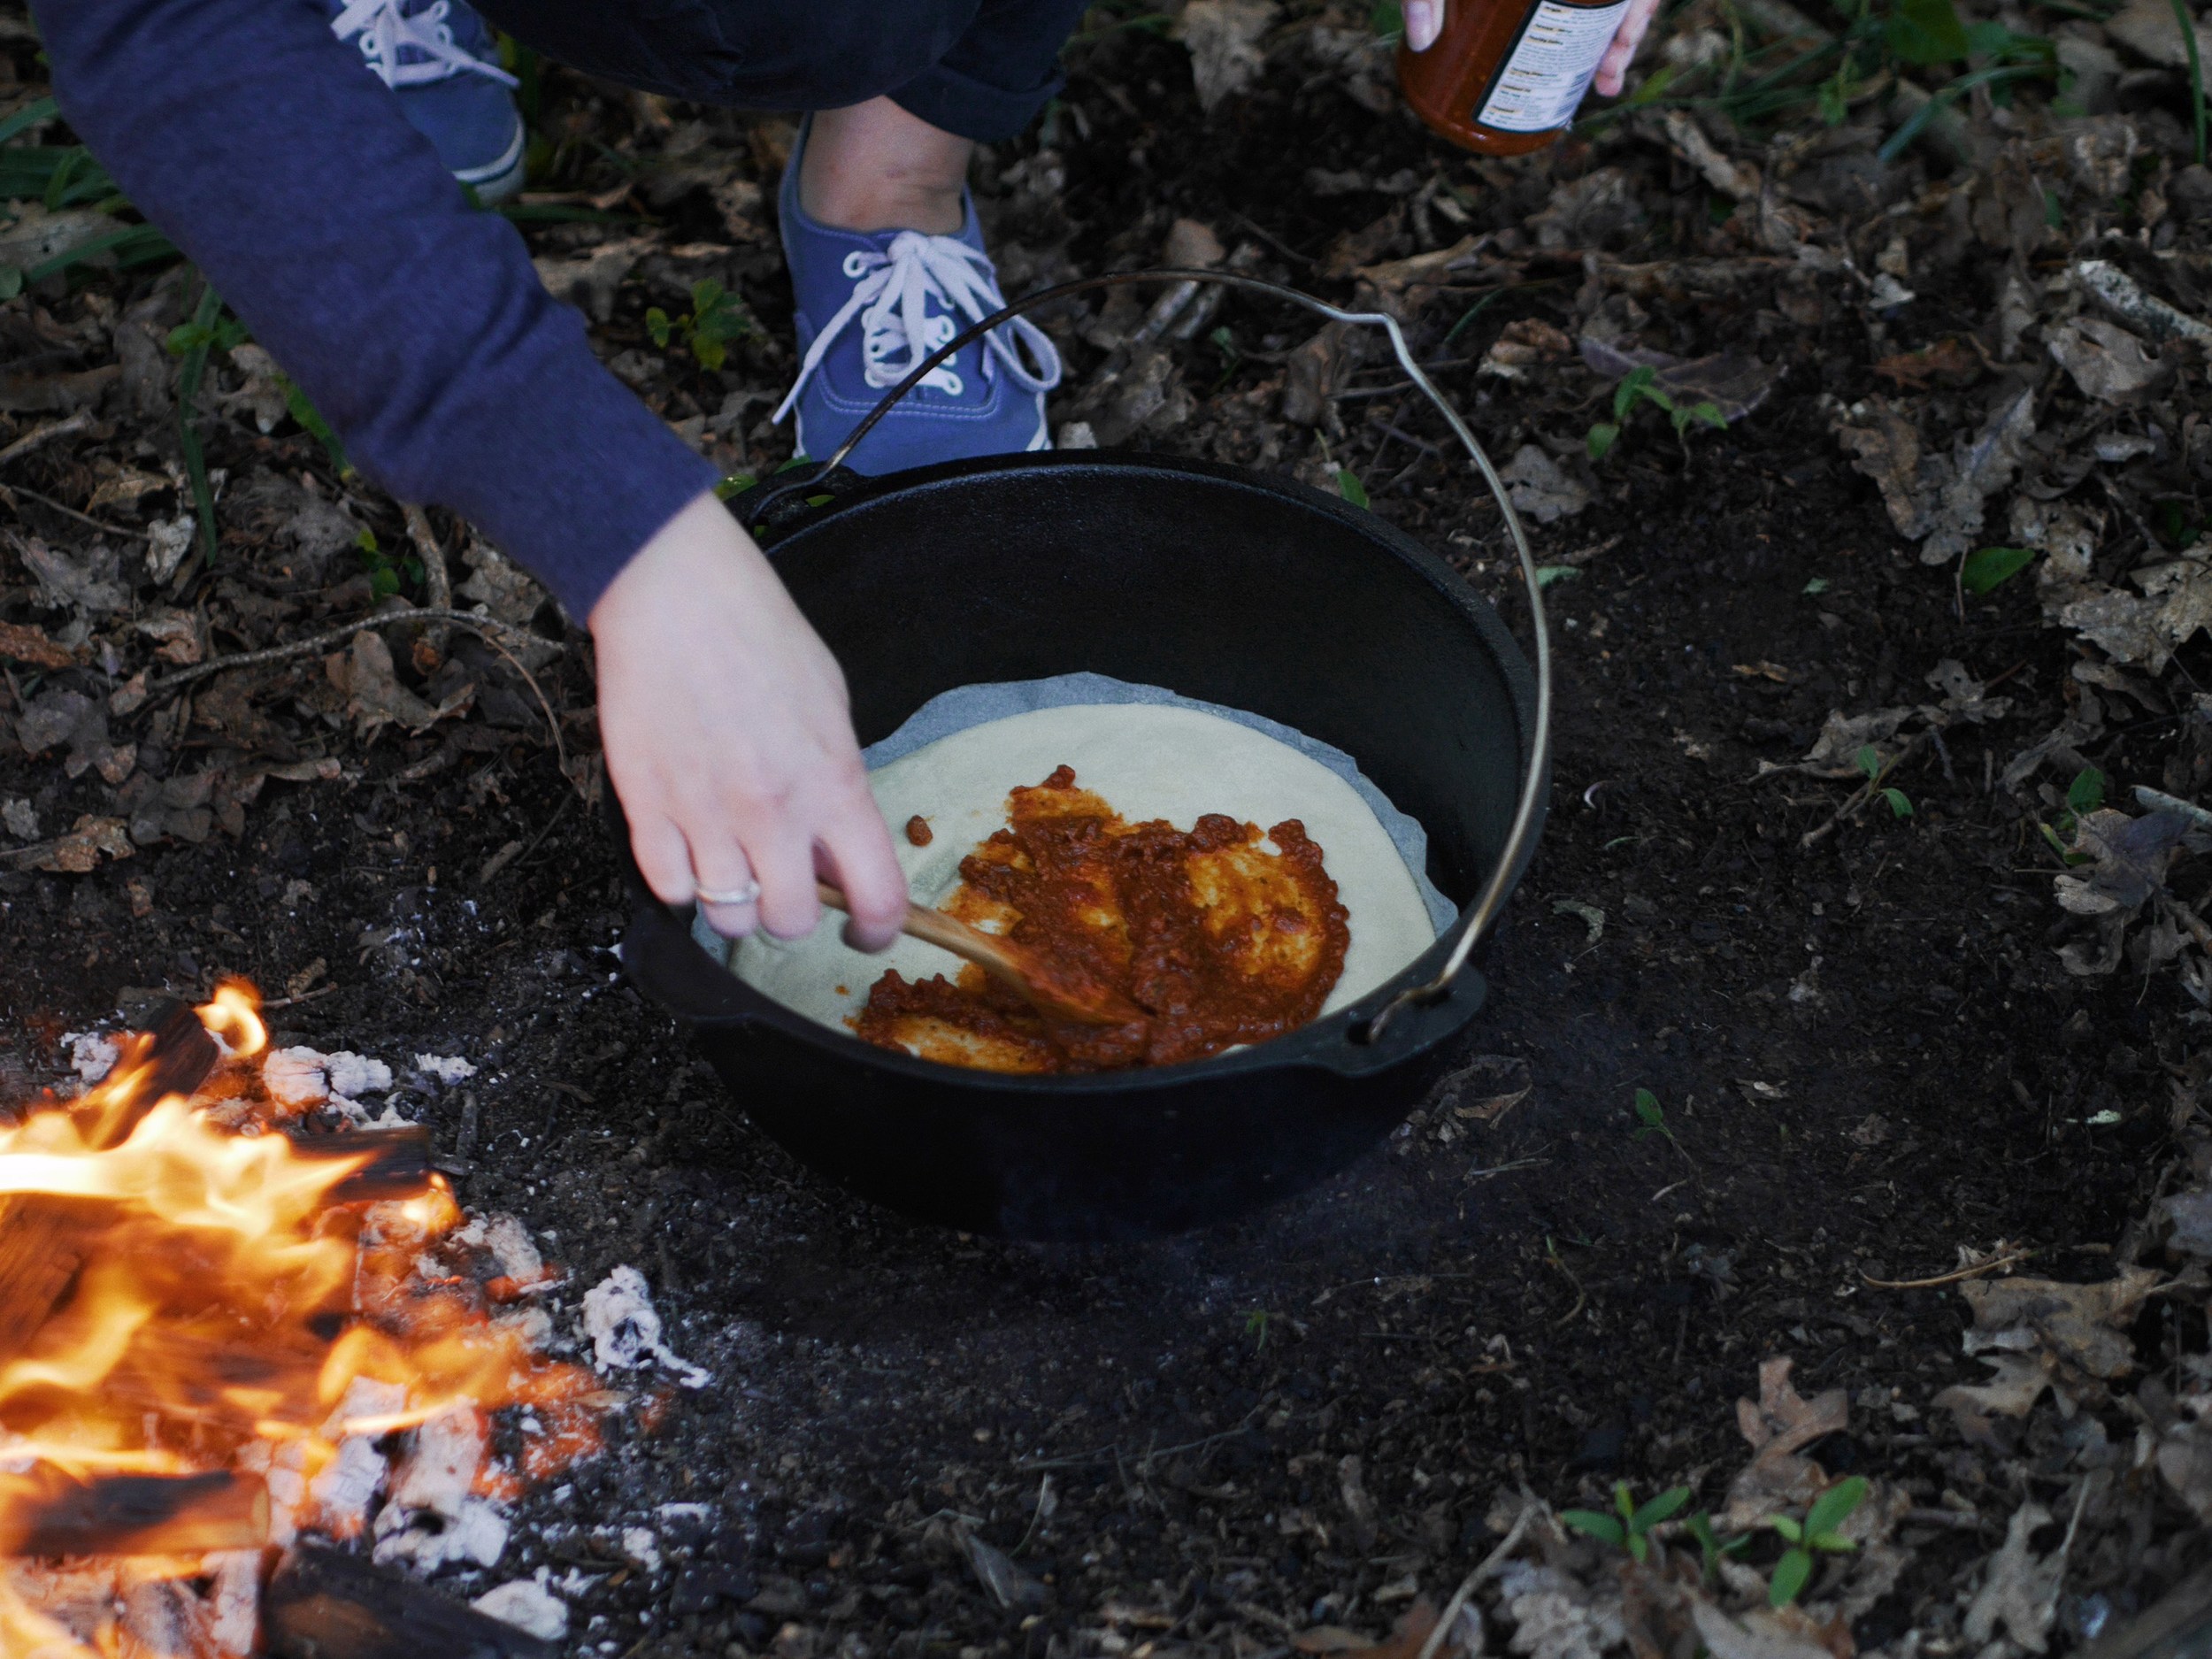
3. Roll out the dough thinly (5mm/1⁄4in thick) and place directly in the bottom of the oven followed by tomato sauce, cheese and then the toppings of your choice. Drizzle with a little olive oil. Put the lid back on the oven and place it on the embers you set aside from the main fire. Next, add some more embers to the lid of the oven so it’s completely covered. Leave for five minutes.

4. Carefully lift off the lid using a hook or spoon handle and check that the base is cooked (it should easily lift from the bottom of the oven in one piece with a spatula). If it’s still soggy, leave it for a little longer and keep checking until it’s crisp. Once the base is done, move the oven off the heat but leave the embers on the lid. Let them sit there for another 10 minutes until the toppings are crisp and the cheese is fully melted. Remove the lid, slide the pizza out onto a plate or board and enjoy!

For more outdoor cooking recipes, bushcraft techniques and camping gear visit miscellaneousadventures.co.uk

For our more slow adventure and wild food inspiration, buy print issue 5 of Ernest Journal, on sale now.

Issue 5
Sale Price:£6.50 Original Price:£10.00
Quantity:
Add to Cart

Kit review: the Onja Stove Duo from Primus

ITV's Coast and Country presenter and founder of Dryad Bushcraft Andrew Price puts his outdoor cooking know-how to the test on the new Onja Stove Duo from Primus while adventuring on the Gower Peninsula

Primus Onja Stove Duo, complete with oak board and utensil roll, RRP £105

Primus Onja Stove Duo, complete with oak board and utensil roll, RRP £105

Back in the 1980s, when I first showed an interest in camping, my friend’s father gave me an ancient brass camping stove in a rusty tin box to help get me started. The thing hadn’t been used in decades so I eagerly polished the tarnished fuel tank to a mirror shine with Brasso before marching up to my local ironmongers to buy some paraffin. In those days paraffin was sold by the gallon, and since I didn’t have a container my friendly ironmonger sold me a jam jar full of the stuff for 10p along with a new leather washer, and sent me on my way. 

When I got home I filled the fuel tank with paraffin, and with the help of my friend’s dad I changed the old and perished washer for the lovely new one, unscrewed the pressure release valve, primed the pre heater with methylated spirits and lit it with a match. Just before the meths had completely burned away I re-tightened the pressure release valve and apprehensively began to pump the stove. Within seconds it roared to life with a noise reminiscent of a Vulcan bomber ready for takeoff. Magic.

That was an old Primus no.23 stove, and it served my friends and I very well for years. It could boil a pot of water in a few minutes, and with its thunderous roar and bright blue flame it never failed to get the job done, whatever the weather.

Over 100 years of craftsmanship

Primus have been making camping stoves since 1892, and they’ve played a vital role in practically every significant expedition of the 20th Century, from Scott’s ill-fated South Pole expedition, to the first successful ascent of Everest.  

The Onja stove from Primus continues in that great Swedish tradition of quality and practicality, all packaged into a compact two burner design that offers a lot of versatility for the wilderness gourmet. One burner is fine if you’re making tea or thawing out some pemmican on the frozen wastes of Antarctica, but if you want to sauté asparagus while pan frying a couple of freshly caught seabass fillets, two burners is definitely the way to go.

The Onja Stove Duo is the most compact two burner stove in the Primus range, and with its neat folding design and handy shoulder strap you can take it anywhere, from a picnic in your local park to an extended canoe trip in Scotland. In its folded state it can easily be mistaken for a messenger bag, and it only weighs 3kg.

The stove uses Primus bottled gas in either 100g, 230g or 450g sizes, and each burner has a separate fuel source so you will need two bottles of gas to power both burners. The gas isn’t supplied with the stoves, but they are available in outdoor shops all over the country, so resupply shouldn’t be an issue unless you’re in the middle of nowhere. The gas bottles can be carried fitted to the stove so they are out of the way. 

A thing of beauty and practicality

Heat can be adjusted precisely with the neat folding steel switches, and I had no problems using it to boil water or gently simmer a pan of soup. The sturdy steel construction is very stable and the burners are at a very useful height for cooking while sitting cross legged on the ground, or on a table top.

The lid of the stove top is a beautifully polished oak board, which can be used as a chopping board or as a level surface for a couple of glasses of Chablis. The features in brass, leather and fabric are a nostalgic reminder of its Primus heritage, so typically Swedish.

Combined with the Primus campfire stainless steel cook set, utensil roll and a bit of imagination, this stove should give you many memorable outdoor dining experiences.

Andrew carries the Onja stove packed up neatly like a messenger bag

Andrew carries the Onja stove packed up neatly like a messenger bag

Primus Onja Stove Duo, £105. To locate a store near you, visit primus.eu/storelocater. For more about the story behind Primus, read our Q&A in the Ernest directory

Andrew has worked as an outdoor pursuits instructor for over 20 years, teaching rock climbing, abseiling, gorge walking, coasteering, kayaking and canoeing, before specialising in bushcraft and survival skills through his company Dryad Bushcraft. He's also presenter of ITV's Coast and Country.

dryadbushcraft.co.uk